지난번에 GET과 관련된 내용들을 정리했었다. 이번에는 POST를 사용하면서 간단하게 정리를 해보려고한다.
Last time, I covered topics related to GET requests. This time, I'm going to briefly summarize how to use POST.
SpringBoot Kotlin의 POST
마찬가지로 @RestController 어노테이션을 사용해서 만든 controller 내부에서 사용 하려고한다.
GET api들을 만들었던 컨트롤러에서 같이 작업했다. 많은 작업이 필요하기보다, requestBody를 사용 해 보는게 목적이기 때문에 간단히 만들어보자.
@RequestBody 어노테이션을 사용해서 Request된 Body의 데이터를 받아주자.
Similarly, I'm going to use this inside a controller created with the @RestController annotation.
I worked in the same controller where I created the GET APIs. Rather than needing extensive work, the goal is to try using requestBody, so let's keep it simple.
Let's use the @RequestBody annotation to receive data from the request body.
DTO 만들기
json 데이터를 받아주기 위해, json데이터가 생겨먹은(?) 형태로 데이터 클래스를 작성 해 놓자
DTO를 만들 때, 이전 Java를 사용한 Spring에서는 DTO위에 Lombok 어노테이션들을 늘어놓았던 것으로 기억한다
To receive JSON data, let's write a data class that matches the structure of the JSON data.
When creating DTOs, I remember that in Spring with Java, we used to pile up Lombok annotations on top of the DTO.
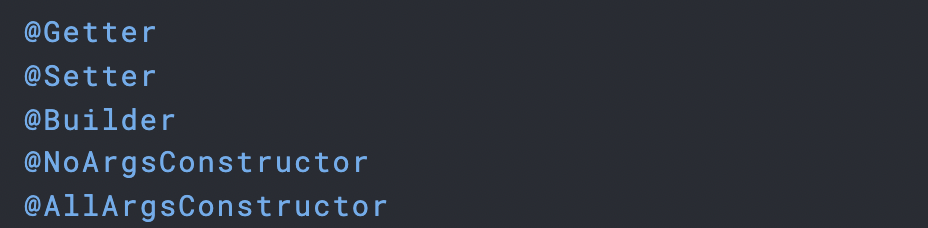
이런것들... 데이터를 가져오고 넣어주고, 각 데이터들을 문자열로 만들어주는 toString()이라던지 등등을 모두 포함한 어노테이션들을 늘어놓았던 것으로 기억한다
Kotlin에서는 위의 것을 사용 할 필요 없이, Kotlin Data Class를 선언 해 주기만 하면 자동적으로 생성 해준다
Things like these... I remember listing out annotations that include everything from getting and setting data, to toString() which converts each piece of data to a string, and so on.
In Kotlin, you don't need to use any of the above - just declaring a Kotlin Data Class automatically generates all of them.
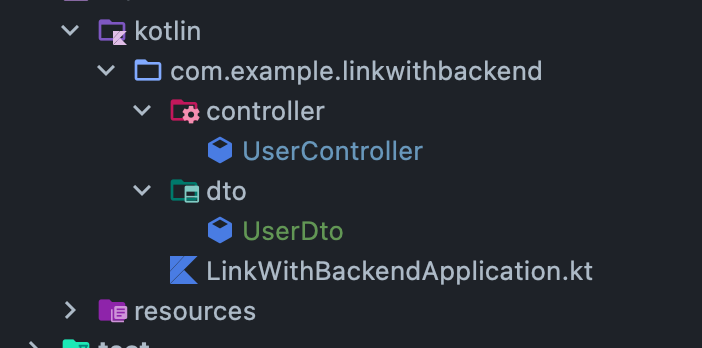
DTO를 생성하기 위해 package를 controller와 같은 형태로 만들어준다
아래처럼, 코틀린 클래스 앞에 data를 붙여주고 괄호를 유의해서 작성 해 준다
To create the DTO, create a package in the same structure as the controller.
As shown below, add data in front of the Kotlin class and pay attention to the parentheses when writing it.
package com.example.linkwithbackend.dto

data class UserDto(
    val id: Long,
    val name: String,
    val email: String,
    val password: String
)
우선 테스트기때문에 어떤 정보가 들어갈지 모르겠지만, UserDto를 간단히 구성 해 봤다.
사실 db에 저장 할 것을 생각해서 id를 넣어주었지만, 실제로 유저가 POST 할 떄에는 id값이 들어가지 않을 것이다
Since this is just for testing, I'm not sure what information will be included, but I've put together a simple UserDto.
Actually, I added the id field thinking about storing it in a database, but in reality, the id value won't be included when a user makes a POST request.
Controller 만들기
전에 작성했던 GetMapping이 들어있는 컨트롤러에 작성했다.
I wrote this in the controller that contains the GetMapping I created before.
@PostMapping()
    fun createUser(@RequestBody user:UserDto): String {
        println("#########################")
        println(user.email)
        println(user.name)
        println(user.password)
        println("#########################")
        /*
        회원 가입하는 로직을 만들 수 있을듯
         */
        return "Hello ${user.name}"
    }
@RequestBody 어노테이션으로 post body데이터를 바라 볼 수 있도록 만들었고, 데이터가 들어오는 형태는 우리가 아까 만들었던 UserDto 클래스의 형태로 만들었다.
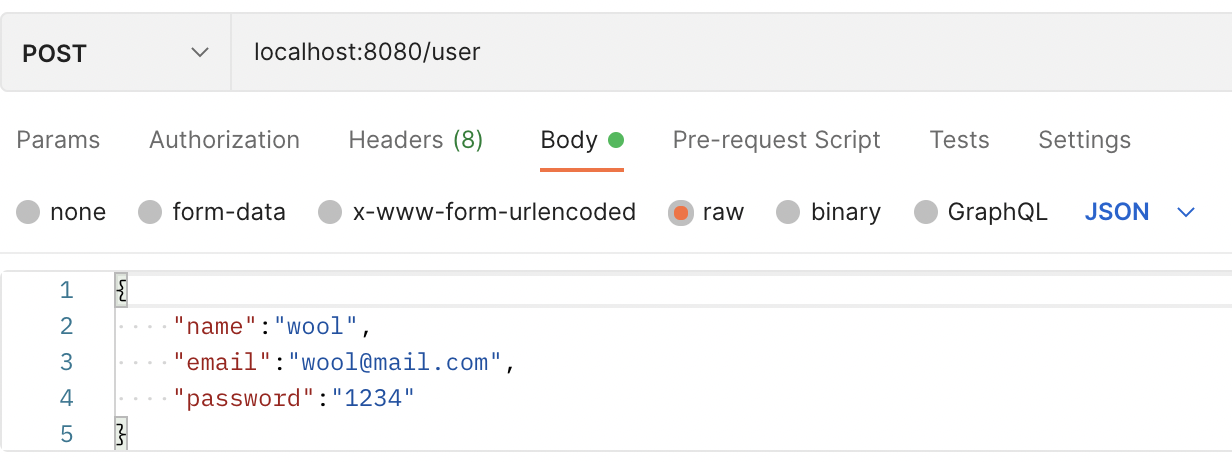
아래처럼 요청을 해 보면
I used the @RequestBody annotation to access the POST body data, and the incoming data format follows the UserDto class structure we created earlier.
If you make a request like below:
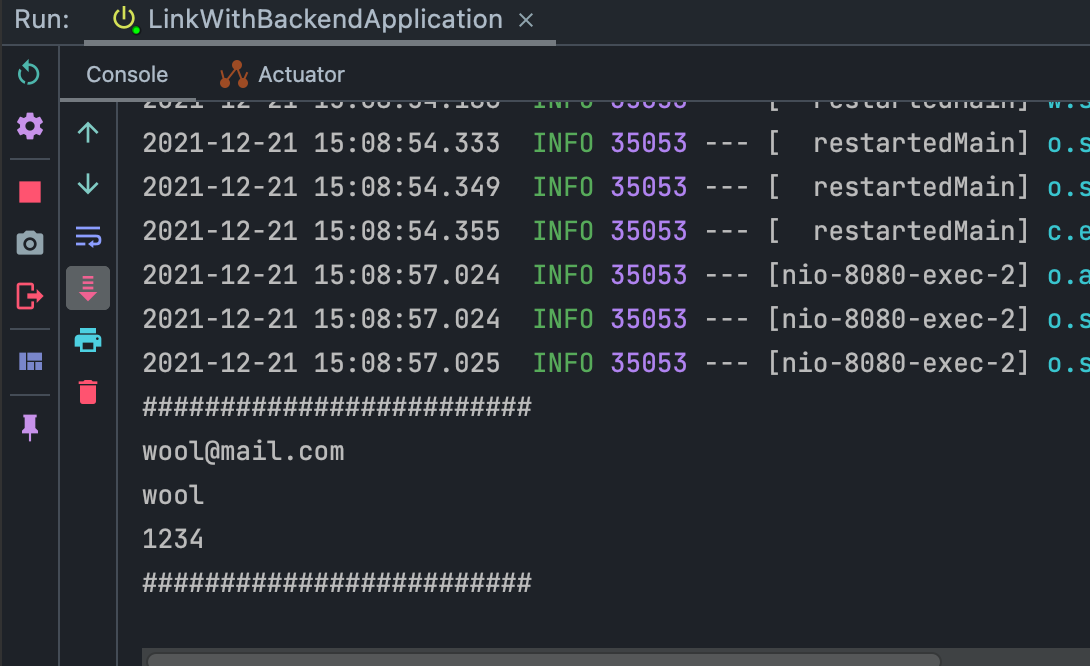
아래처럼 데이터가 잘 출력되는 것을 볼 수 있다
You can see the data is printed correctly as shown below:
UserDto에 포함되어있는 데이터를 그대로 모두 다 주지 않아도 되고, 없는 데이터들을 끼워 넣어도 된다
다만, 우리의 똑똑한 @RequestBody 는 DTO내에 있는 데이터들만 들고 온다
You don't have to provide all the data included in UserDto exactly as is, and you can also include data that doesn't exist in the DTO.
However, our smart @RequestBody only retrieves the data that exists within the DTO.